tinyblok installer
This page lets you flash prebuilt tinyblok firmware to an ESP32-C6 from the browser. The firmware runs a message-conditioning patchbay on the board and publishes conditioned sensor streams to NATS. For background, see the intro blog post.
Install tinyblok
Use Chrome or Edge on desktop. Connect an ESP32-C6 board over USB, then start the installer.
- Plug in an ESP32-C6 board (support for more boards coming soon) and click Start install above.
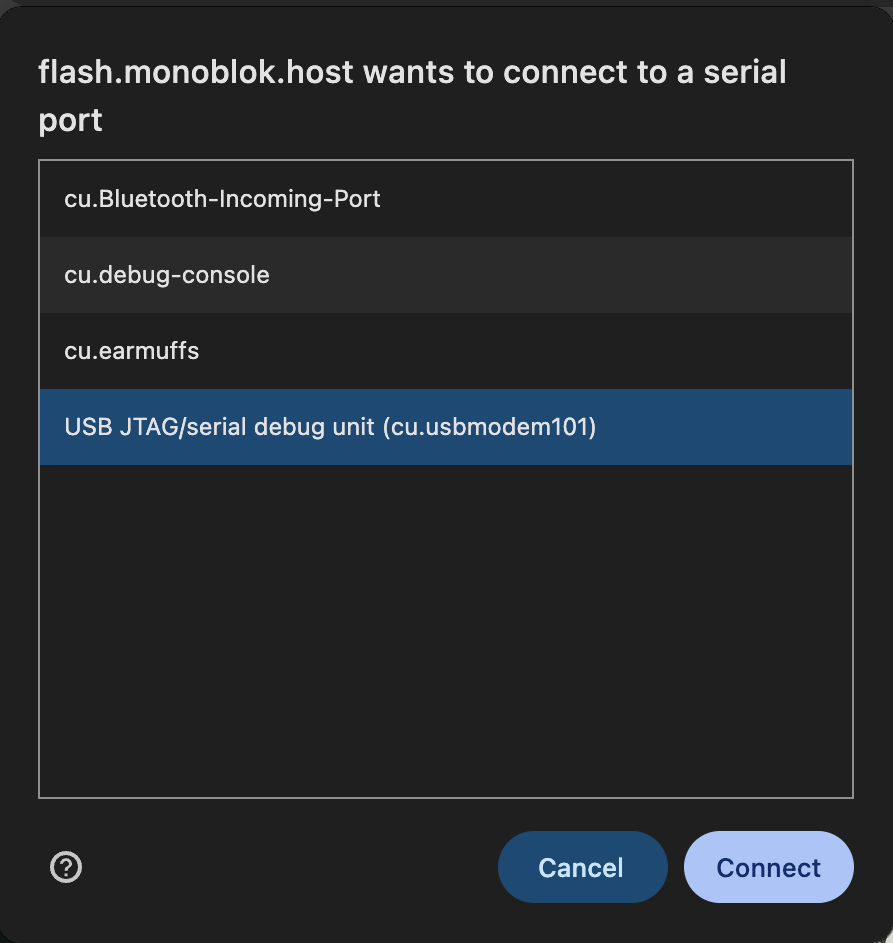
- Pick the board's serial port (on macOS it's usually
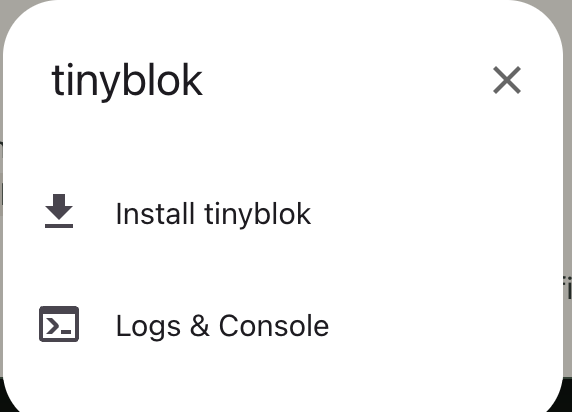
cu.usbmodem…) and click Connect. - In the dialog that follows, choose Install tinyblok.
- Wait for the installer to finish and the device to reboot.
- Once it reboots, join the
TINYBLOKWi-Fi network to configure Wi-Fi and your NATS target (details below).
If you'd rather build from source and flash it yourself, see the tinyblok repo. You will need esp-idf
Set up Wi-Fi and NATS
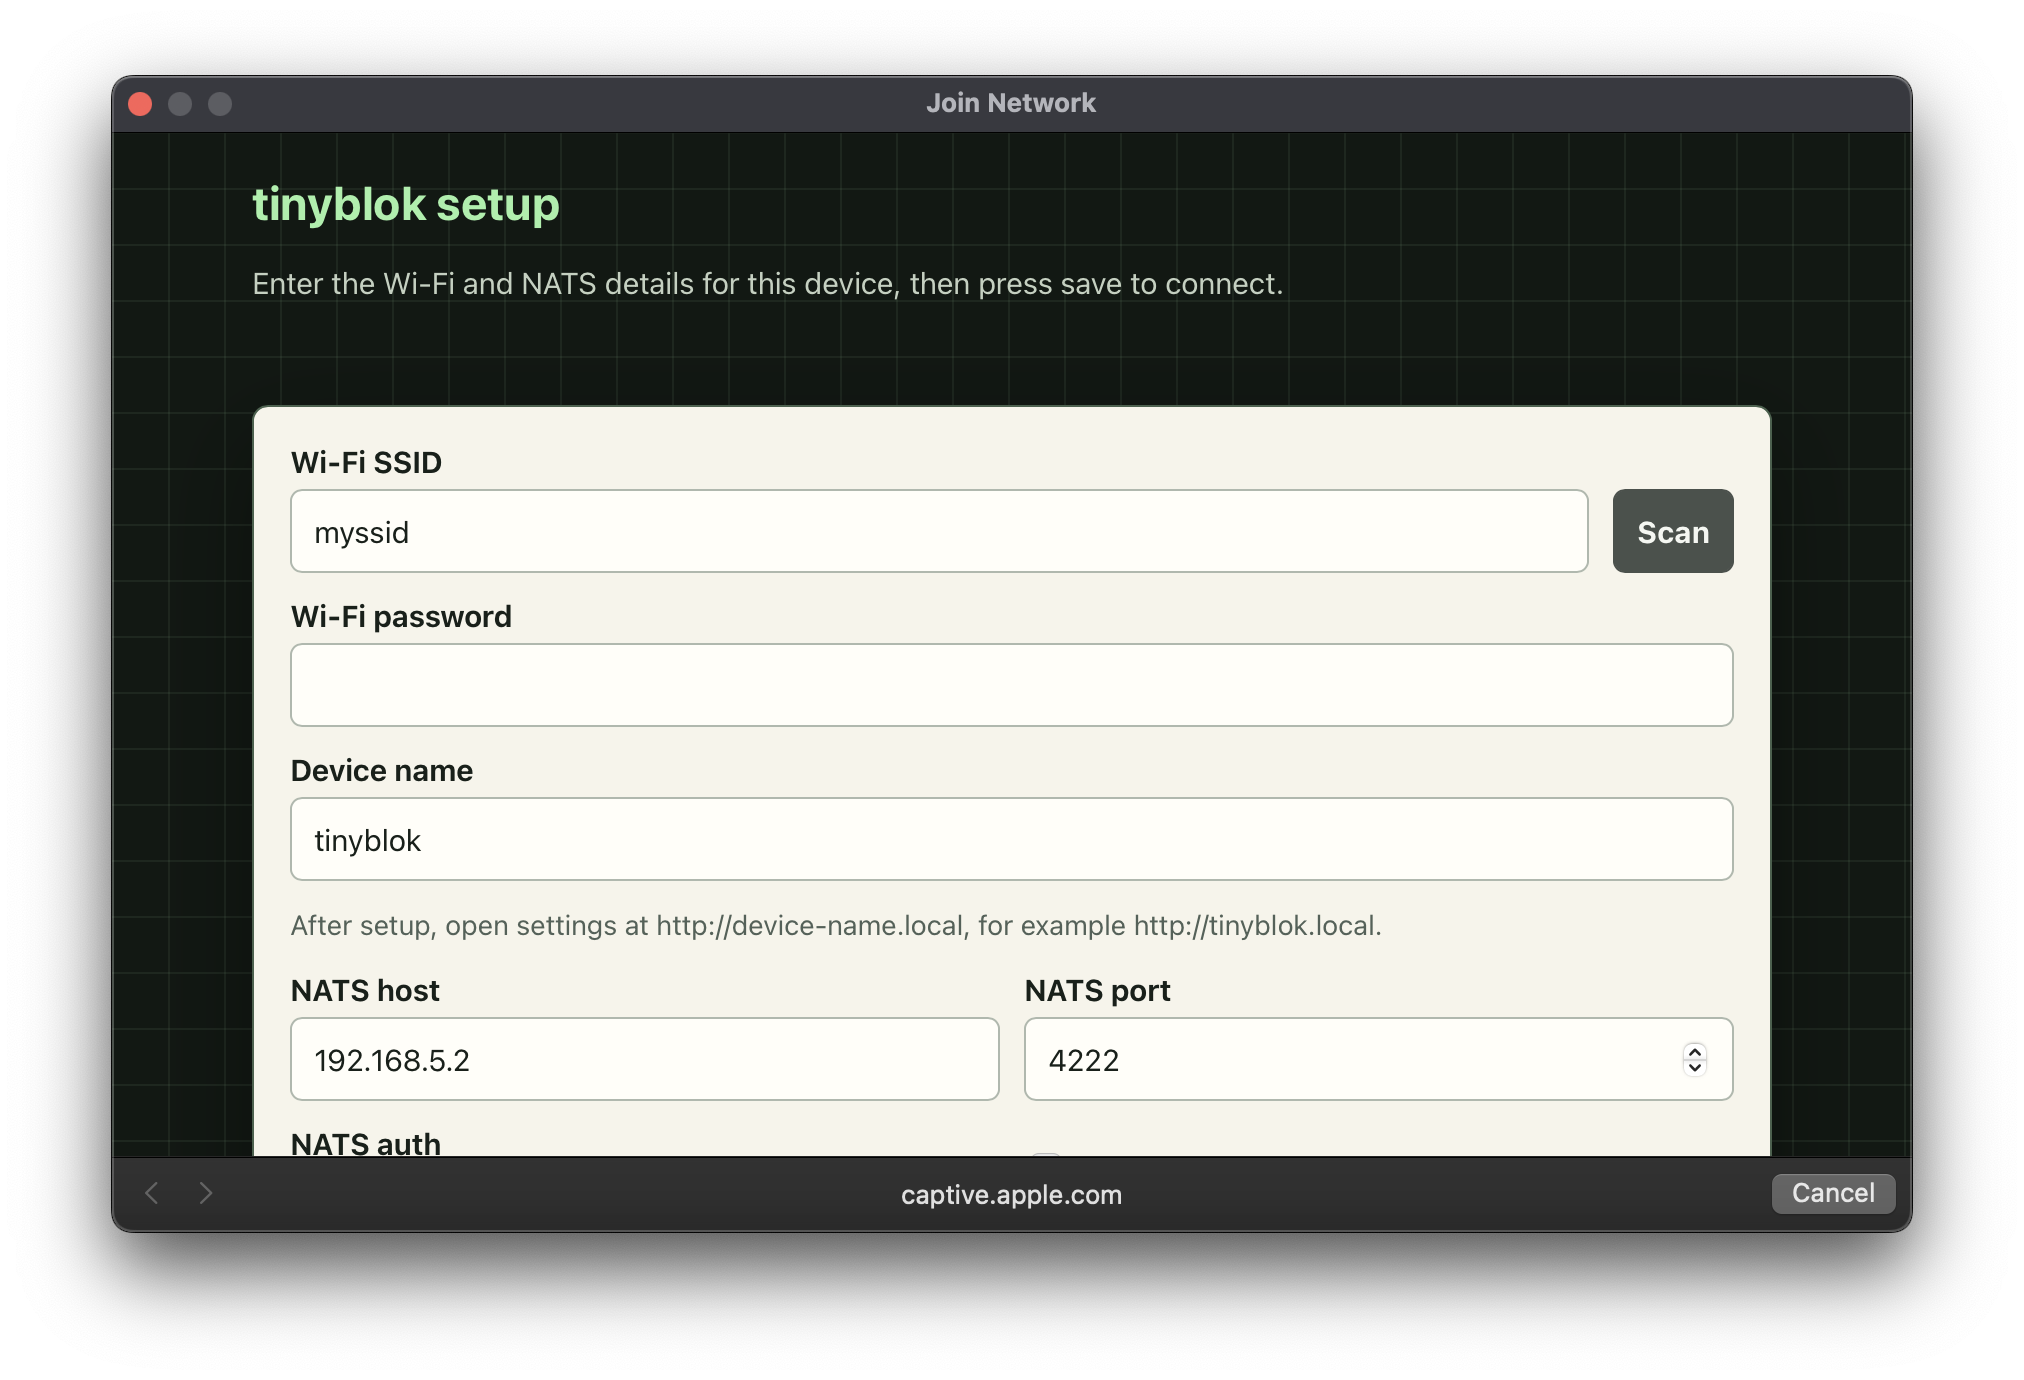
After flashing, the device boots into setup mode. It exposes a wireless access point with a captive setup page.
- Join the
TINYBLOKWi-Fi network advertised by the device. - The captive portal should open automatically.
- Enter your Wi-Fi, device name, and NATS settings, then save.
- tinyblok joins your Wi-Fi and reboots. If you have a screen attached, you will be able to see what is going on. Alternatively do a `nats sub 'tinyblok.>` on the target NATS server. Once set up, visit
http://tinyblok.local(orhttp://<device-name>.localif you changed it) to update settings or do a factory reset.
© 2026 Alex Reid / Lexvica Limited. tinyblok is MIT licensed. alex@lexvica.com